Everything You Need to Know About Leather Edge Finishing
Everything You Need to Know About Leather Edge Finishing
When it comes to leather crafting, the devil truly is in the details. Whilst the main body of your leather project might look absolutely brilliant, it's the edge finishing that separates amateur work from professional-quality pieces. Proper edge finishing not only enhances the aesthetic appeal of your leather goods but also increases their durability and longevity.
Whether you're a seasoned leather worker or just starting your journey into this traditional craft, understanding the ins and outs of edge finishing is essential for creating pieces you'll be proud to show off—or even sell.

Why Edge Finishing Matters
Raw leather edges are rather unsightly, aren't they? They appear fuzzy, uneven, and frankly, unfinished. More importantly, unfinished edges are vulnerable to fraying, cracking, and general deterioration over time. Proper edge finishing serves several crucial purposes:
Protection: Sealed edges resist moisture, dirt, and wear far better than raw edges. This is particularly important for items like belts, bags, and wallets that see daily use.
Aesthetics: A well-finished edge gives your work that professional, polished appearance that screams quality craftsmanship.
Durability: Finished edges maintain their shape and integrity much longer, ensuring your leather goods age gracefully rather than falling apart at the seams (quite literally).
Types of Edge Finishing Techniques
There are several approaches to edge finishing, each with its own advantages and applications. Let's explore the most popular methods:
Burnishing
Burnishing is perhaps the most traditional and widely-used edge finishing technique. It involves compressing and smoothing the leather fibres using friction and heat, creating a hard, glossy surface that's both attractive and durable.
The process typically involves sanding the edge smooth, applying water or a burnishing compound, then using a burnishing tool (such as a bone folder or specialised burnisher) to create friction. The heat generated fuses the fibres together, creating that characteristic smooth, shiny finish.
For burnishing, you'll want to invest in quality edge burnishing tools and burnishing compounds that will give you consistent, professional results.
Edge Paint Application
Edge paint (also called edge colour) provides a clean, modern finish that's particularly popular for contemporary leather goods. This technique involves applying several thin coats of specialised paint to create a smooth, coloured edge.
The key to successful edge painting is patience—multiple thin coats always trump one thick application. Between coats, you'll need to sand lightly to ensure smoothness. Quality edge paints come in various colours, allowing you to either match your leather or create striking contrasts.
Wax Finishing
Wax finishing offers a more subtle approach whilst still providing protection and a refined appearance. After preparing the edge, you apply leather wax and buff it to a smooth finish. This method is excellent for rustic or vintage-style projects where you want protection without the high-gloss look of burnishing.
Dye and Seal Method
This technique involves dying the edge to match (or contrast with) your leather, then sealing it with an appropriate finish. It's particularly effective when working with natural or lightly coloured leathers where you want the edge treatment to appear seamless.
Essential Tools for Edge Finishing
Having the right tools makes all the difference in achieving professional results. Here's what you'll need in your edge finishing arsenal:
Sandpaper: Various grits from coarse (220) to fine (600+) for smoothing and preparing edges. Quality abrasives and sandpaper designed specifically for leather work will give you the best results.
Edge Beveller: This tool creates a slight bevel on the edge, which not only looks more refined but also helps subsequent treatments adhere better.
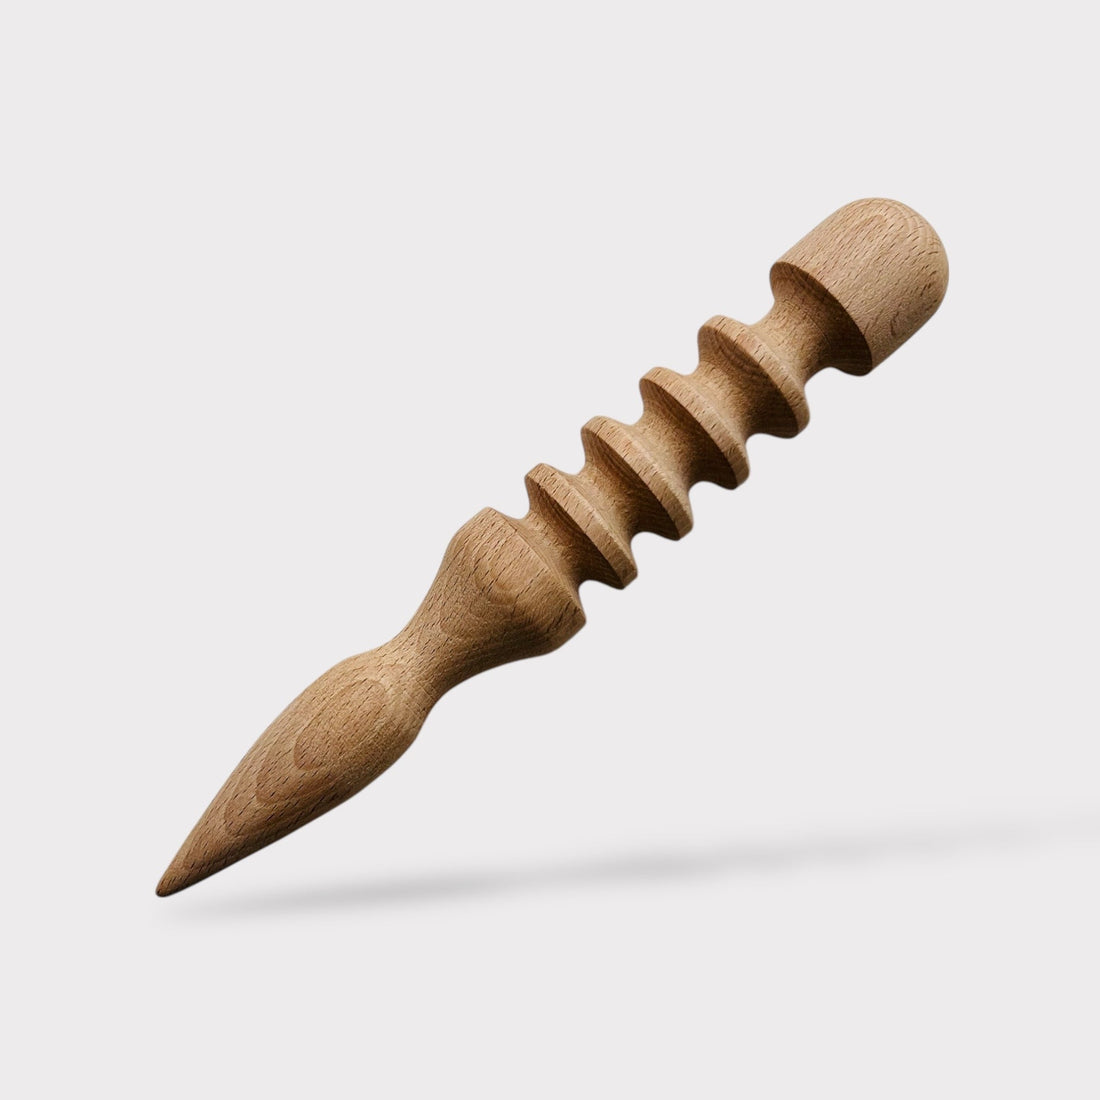
Burnishing Tools: From traditional bone folders to modern heated burnishers, having proper burnishing equipment is essential for achieving that perfect glossy finish.
Brushes and Applicators: For applying edge paint or dye evenly. Small, high-quality brushes make all the difference.
Sanding Blocks: These help maintain consistent angles and pressure when preparing edges.
Step-by-Step Edge Finishing Process
Whilst specific techniques vary, most edge finishing follows a similar progression:
Preparation
Start by ensuring your edges are cut cleanly and evenly. Use a sharp knife and cutting mat for the best results. Any irregularities at this stage will be magnified in the finished product.
Initial Sanding
Begin with medium-grit sandpaper (around 220-320 grit) to smooth any rough spots and create a uniform surface. Always sand in the direction of the edge, not across it, to avoid creating scratches that will show in the final finish.
Bevelling
Use an edge beveller to create a subtle chamfer along both sides of the edge. This step is crucial for achieving that professional look and helps prevent the sharp corners that can catch and tear.
Fine Sanding
Progress through increasingly fine grits (400, 600, 800+) until the edge feels smooth to the touch. Each grit should remove the scratches left by the previous one.
Treatment Application
Whether you're burnishing, painting, or waxing, apply your chosen treatment according to the manufacturer's instructions. Multiple light applications typically yield better results than a single heavy coat.
Final Polishing
Complete the process with final polishing or buffing to achieve your desired finish level.
Common Mistakes to Avoid
Even experienced crafters can fall into these traps:
Rushing the sanding process: Each grit level serves a purpose. Skipping steps will result in visible scratches in your final finish.
Applying treatments too thickly: Whether it's paint, wax, or dye, thin coats are always preferable. Build up gradually rather than trying to achieve full coverage in one go.
Neglecting edge preparation: A perfectly applied finish over a poorly prepared edge will still look amateurish.
Using the wrong products: Not all edge treatments work well with all leather types. Vegetable-tanned leather responds differently than chrome-tanned, for instance.
Choosing the Right Finish for Your Project
The appropriate edge finishing technique depends on several factors:
Leather type: Different leathers respond better to certain treatments. Vegetable-tanned leather is ideal for burnishing, whilst chrome-tanned leather often works better with paint or wax.
Project use: A belt that sees daily wear needs more robust finishing than a decorative piece.
Aesthetic goals: Consider whether you want a traditional, rustic look or a modern, clean appearance.
Skill level: Some techniques require more experience and specialised tools than others.
Maintenance and Longevity
Proper edge finishing isn't a one-and-done affair. Even the best finishes will benefit from occasional maintenance:
For burnished edges, occasional re-burnishing with a cloth can restore the shine. Edge paint might need touch-ups after heavy use, whilst waxed edges benefit from periodic re-waxing.
Quality materials make a significant difference in how long your finish lasts. Investing in professional-grade edge finishing supplies pays dividends in both appearance and durability.
Advanced Techniques
Once you've mastered the basics, consider exploring more advanced approaches:
Multiple colour layering: Creating gradient effects or colour-blocked edges using different paints or dyes.
Decorative burnishing: Using shaped burnishing tools to create patterns or textures in the edge.
Heat finishing: Advanced techniques using heated tools for specific effects.
Final Thoughts
Edge finishing might seem like a small detail, but it's what elevates good leather work to great leather work. The difference between a finished and unfinished edge is immediately apparent to anyone who handles your piece, and it speaks volumes about your attention to detail and commitment to quality.
Take time to practice these techniques on scrap leather before applying them to important projects. Each method has its learning curve, but with patience and the right materials from British Leather Supplies, you'll soon be producing edges that rival those of professional leather goods.
Remember, there's no single "correct" approach to edge finishing—the best method is the one that suits your project, skill level, and aesthetic preferences. Don't be afraid to experiment and develop your own techniques as you grow in confidence and ability.
Whether you're crafting a simple bookmark or an elaborate handbag, proper edge finishing ensures your work will not only look brilliant today but will continue to age beautifully for years to come. After all, isn't that what traditional craftsmanship is all about?
