How to Create Smooth, Professional Edges with the Right Tools
How to Create Smooth, Professional Edges with the Right Tools
Leather crafting isn’t just about stitching pieces together—it’s in the details, especially the edges. A beautifully burnished edge is the hallmark of a professional leather piece. Whether you’re making a belt, wallet, or bag, those polished edges don’t just enhance your project’s aesthetics—they ensure it lasts longer.
But achieving that perfect edge? It’s no accident. It requires the right tools, patience, and a firm grasp of the techniques involved. For leather crafting enthusiasts, DIY artisans, and leatherworkers, this guide walks through the essential tools like burnishers and edge bevellers, and the step-by-step methods to create those smooth, professional finishes.

Why Polished Edges Matter
A smooth, polished edge on leather projects is more than just decorative. Here's why it matters:
- Durability: Raw leather edges can fray over time. Proper burnishing seals these edges, keeping wear and tear at bay.
- Comfort: Polished edges feel softer and smoother, especially for items like belts and bags that are handled frequently.
- Aesthetics: Sleek edges give your projects a professional, finished appearance. This level of craftsmanship often makes the difference between “homemade” and “handcrafted.”
Now that we know why burnishing matters, let’s jump into the tools that make it achievable.
Essential Tools for Polished Leather Edges
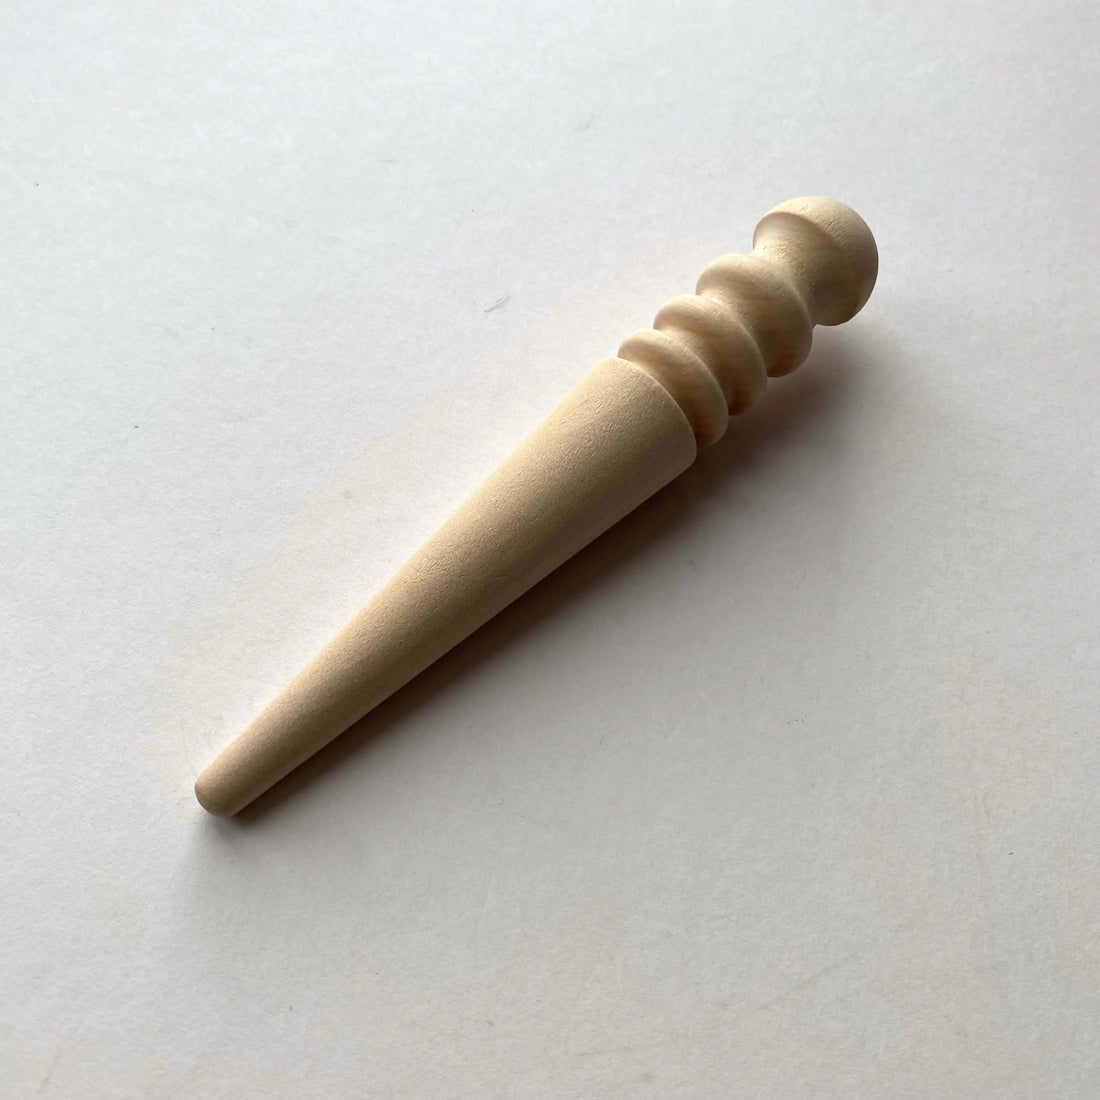
1. Burnishers – The Key to Smooth Surfaces
Burnishers are the go-to tool for sealing and polishing leather edges. These come in various shapes and materials, depending on the size and type of edge you’re working on.
Popular Types:
- Wooden Burnishers: Commonly used and lightweight, they work well for most projects.
- Acrylic Burnishers: Excellent for precision burnishing with minimal friction.
- Motorised Burnishers: Perfect for high-volume crafting, offering speed and consistent results.
Pro Tip: Look for a burnisher with multiple groove sizes to accommodate different leather thicknesses.
2. Edge Bevellers – Round the Edges for Perfection
An edge beveller isn't just an accessory—it’s a game-changer. This tool cuts off the sharp edge of a piece of leather to create a rounded, consistent look.
How to Choose the Right One:
- Size Matters: Bevellers come in various sizes. For finer, detailed work, use a smaller number like 0 or 1. For thicker leather (e.g., belts), go with a higher number like 3 or 4.
- Comfortable Grip: A beveller with an ergonomic handle can make long crafting sessions more manageable.
3. Sanding Tools – Smooth Before You Burnish
Before burnishing, raw leather edges need smoothing. Use sanding blocks or electric tools with fine-grit sandpaper (around 400-600 grit) for the best results.
4. Edge Finishing Products
Water, Gum Tragacanth, or Burnishing Creams: These lubricants create enough friction to seal and polish the edges when burnished properly. They also elevate the final finish.
Dye or Edge Paint: For a coloured or tailored finish, apply dye before burnishing. It hides imperfections and gives your edges a vibrant, professional touch.
The Step-by-Step Method for Perfect Edges
For polished edges that last, take a methodical approach. Here's a detailed breakdown of the process.
1. Cut the Leather Cleanly
A clean edge starts with a precise cut. Use a sharp utility knife or rotary cutter to ensure you’re working with straight, smooth edges. Rough, jagged cuts are harder to fix later.
2. Bevel the Edge
With your edge beveller, round out the edge of the leather. Hold the leather firmly in place and ensure smooth, controlled movements. This step prepares the edge for burnishing by removing the rough or sharp angle.
3. Sand for Smoother Results
Take fine-grit sandpaper and lightly sand the edge to even out any remaining imperfections. For thicker leather, you may need to repeat this step until the edge feels uniformly smooth.
4. Apply Lubricants or Burnishing Agents
Add a small amount of water, gum tragacanth, or specialised burnishing cream to the edge. This creates the right amount of friction during the burnishing process and helps “seal” the fibres. Use a damp sponge to apply the product evenly.
5. Burnish Your Edges
Using your burnisher tool, apply firm, consistent pressure to the edge, moving it back and forth quickly. If you're new to this step, start with a wooden burnisher—it’s forgiving and works well for most leather types.
Focus on achieving a sleek, glossy edge. You might need a few passes to get the perfect finish, depending on the leather’s thickness and your product choice.
Pro Tip: For motorised burnishing tools, gently glide the leather along the grooves—don’t force it.
6. Add the Finishing Touch
For coloured edges, now’s the time to apply edge paint. Use a steady hand or an edge roller for uniform coats. Once dry, you can even repeat the burnishing process lightly to enhance the finish.
Common Challenges and How to Overcome Them
Uneven Cuts
If your edges seem inconsistent, start with properly sharpened tools and firmly clamp your leather in place before cutting.
Fraying
If fibres fray during burnishing, reapply more lubricant or burnishing cream. Sanding again can also help.
Dull Finish
If you’re not achieving the gloss you want, check the grit of your sandpaper or switch to a higher-quality burnishing product.
Taking Your Craftsmanship to the Next Level
Learning to perfect your edges takes patience, but the results are worth it. Over time, you’ll build both speed and skill, turning your leather pieces into standout works of art.
Whether you're crafting as a hobby or building a business, the details matter—and polished edges make all the difference. Armed with the right tools and techniques, you're ready to give your leather projects that coveted professional touch.